

Night photography experiments in San Francisco

From the first time I tried night photography about 35 years ago, I was hooked. But I didn’t feel like I ever mastered it.
At first, night photography feels like you learn the basics and the rest is luck… but the more I do it, the more I understand that a bit of learning goes a long way towards ensuring good luck.
Back in the film days, it was hard to build that skill. By the time you got the film back, you might have forgotten the precise settings. And when you finally figured out what you wanted to do differently, it might be weeks or months before you were back in a similar situation with the chance to try again.
Digital changes that. You can adjust while you’re still out there. And when you get home, the EXIF data tells you what worked, what didn’t, and what might be worth trying next.
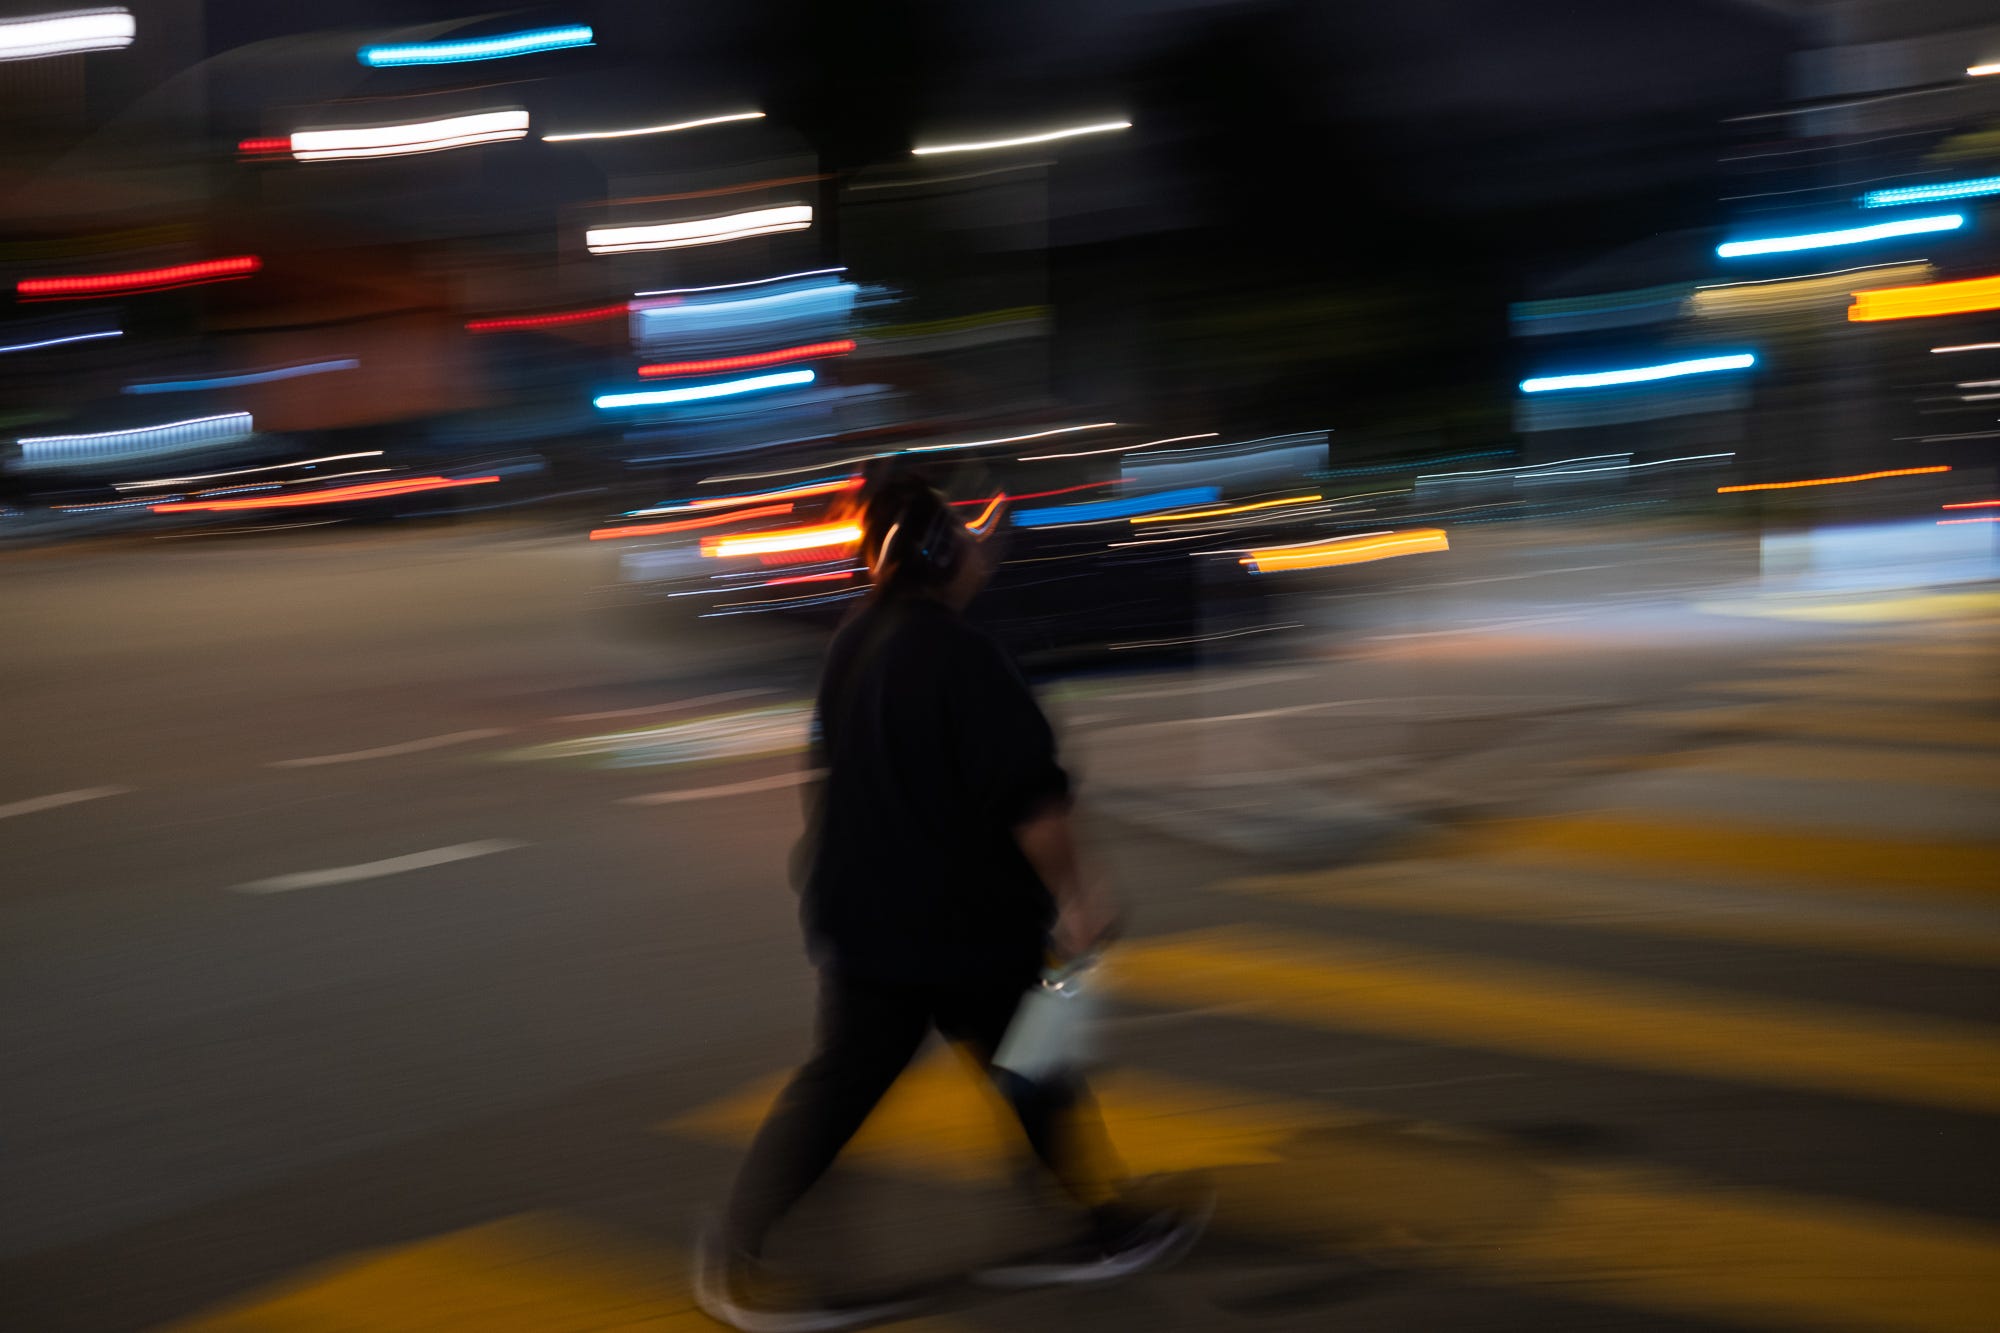
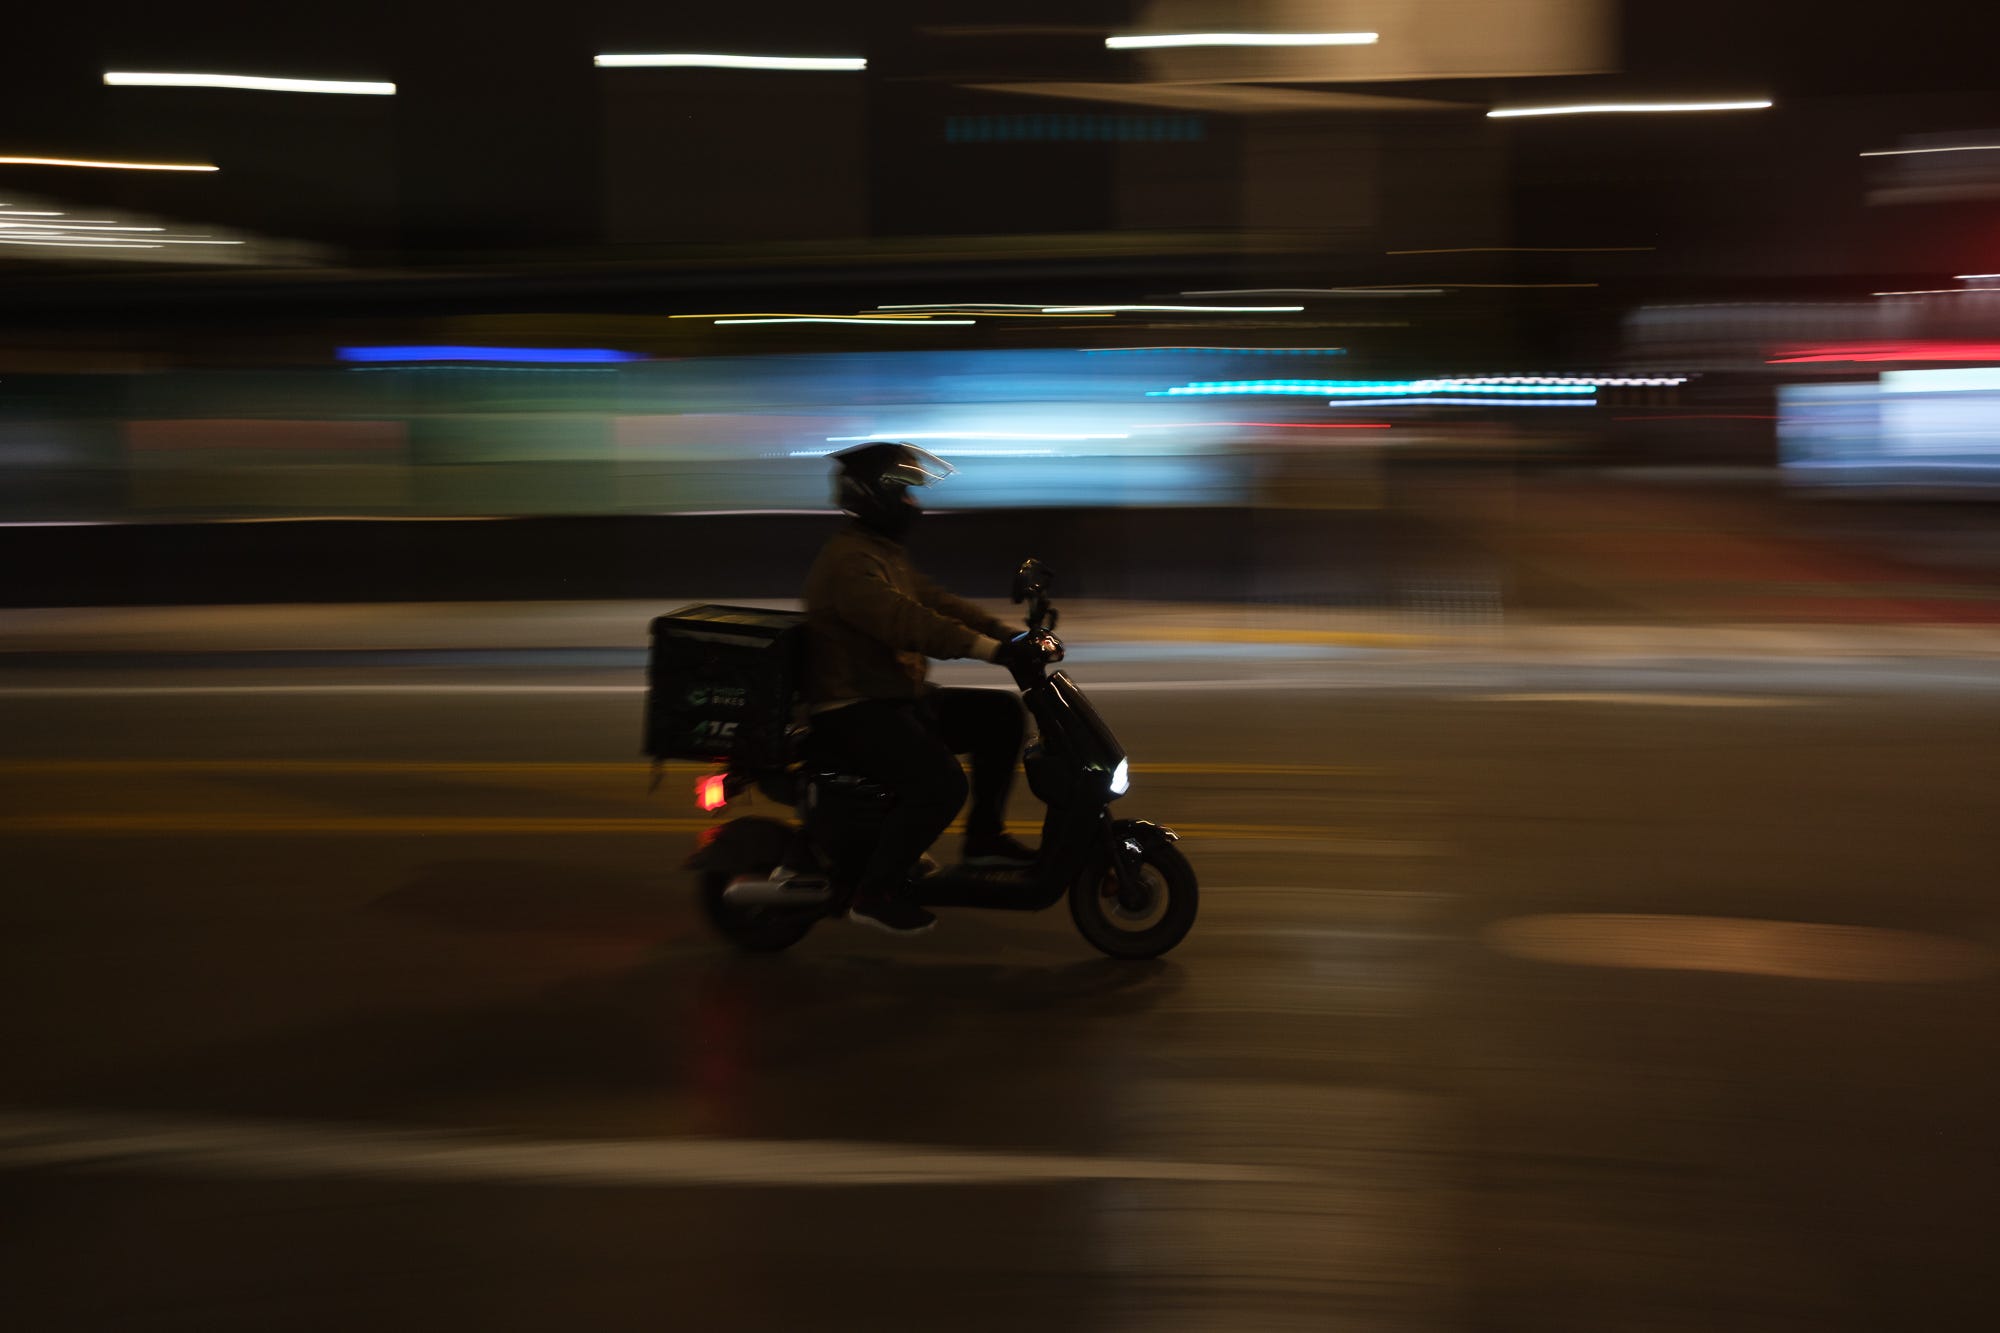
Last night, I had about an hour to kill in San Francisco and stumbled onto a great spot for long-exposure night photography: an intersection with buses moving in both directions as well as others turning through the frame. A food court nearby attracted DoorDashers on motorcycles, and a bar in the background had a great neon sign.
At first, I played with the aperture setting and then realized it didn’t matter. I did remember that underexposing was key. So. from there I set the camera to burst mode, put ISO and aperture on auto, dialed in about -2 exposure compensation, and took direct control of only one variable: shutter speed. That let me concentrate on picking moments and subjects — watching the buses, cars, motorcycles, and pedestrians, then adjusting the shutter speed based on how fast they were moving and how much blur I wanted.
A few things I learned — or relearned:
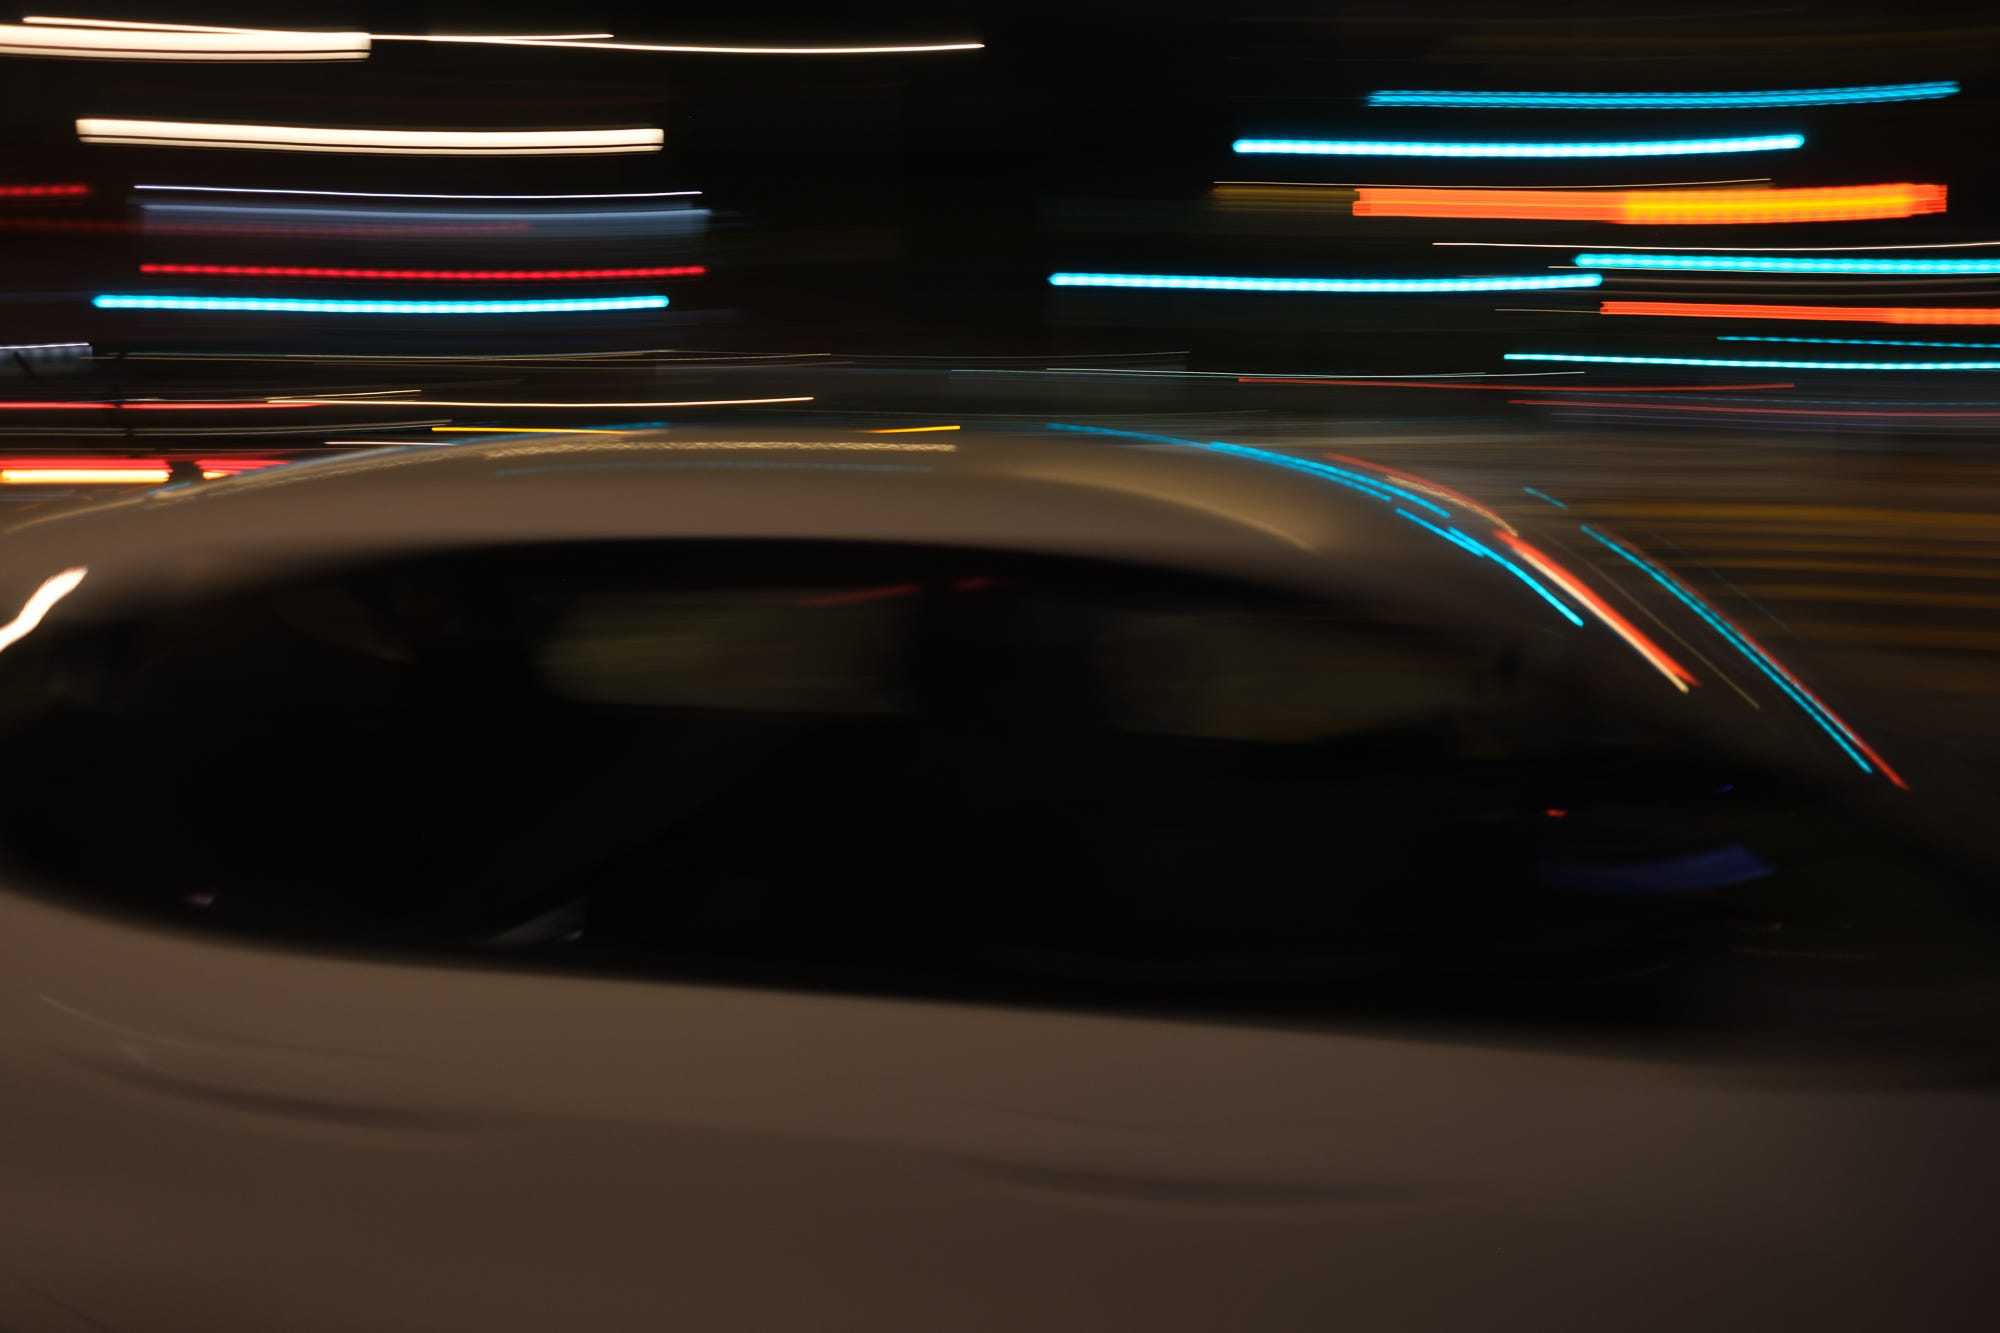
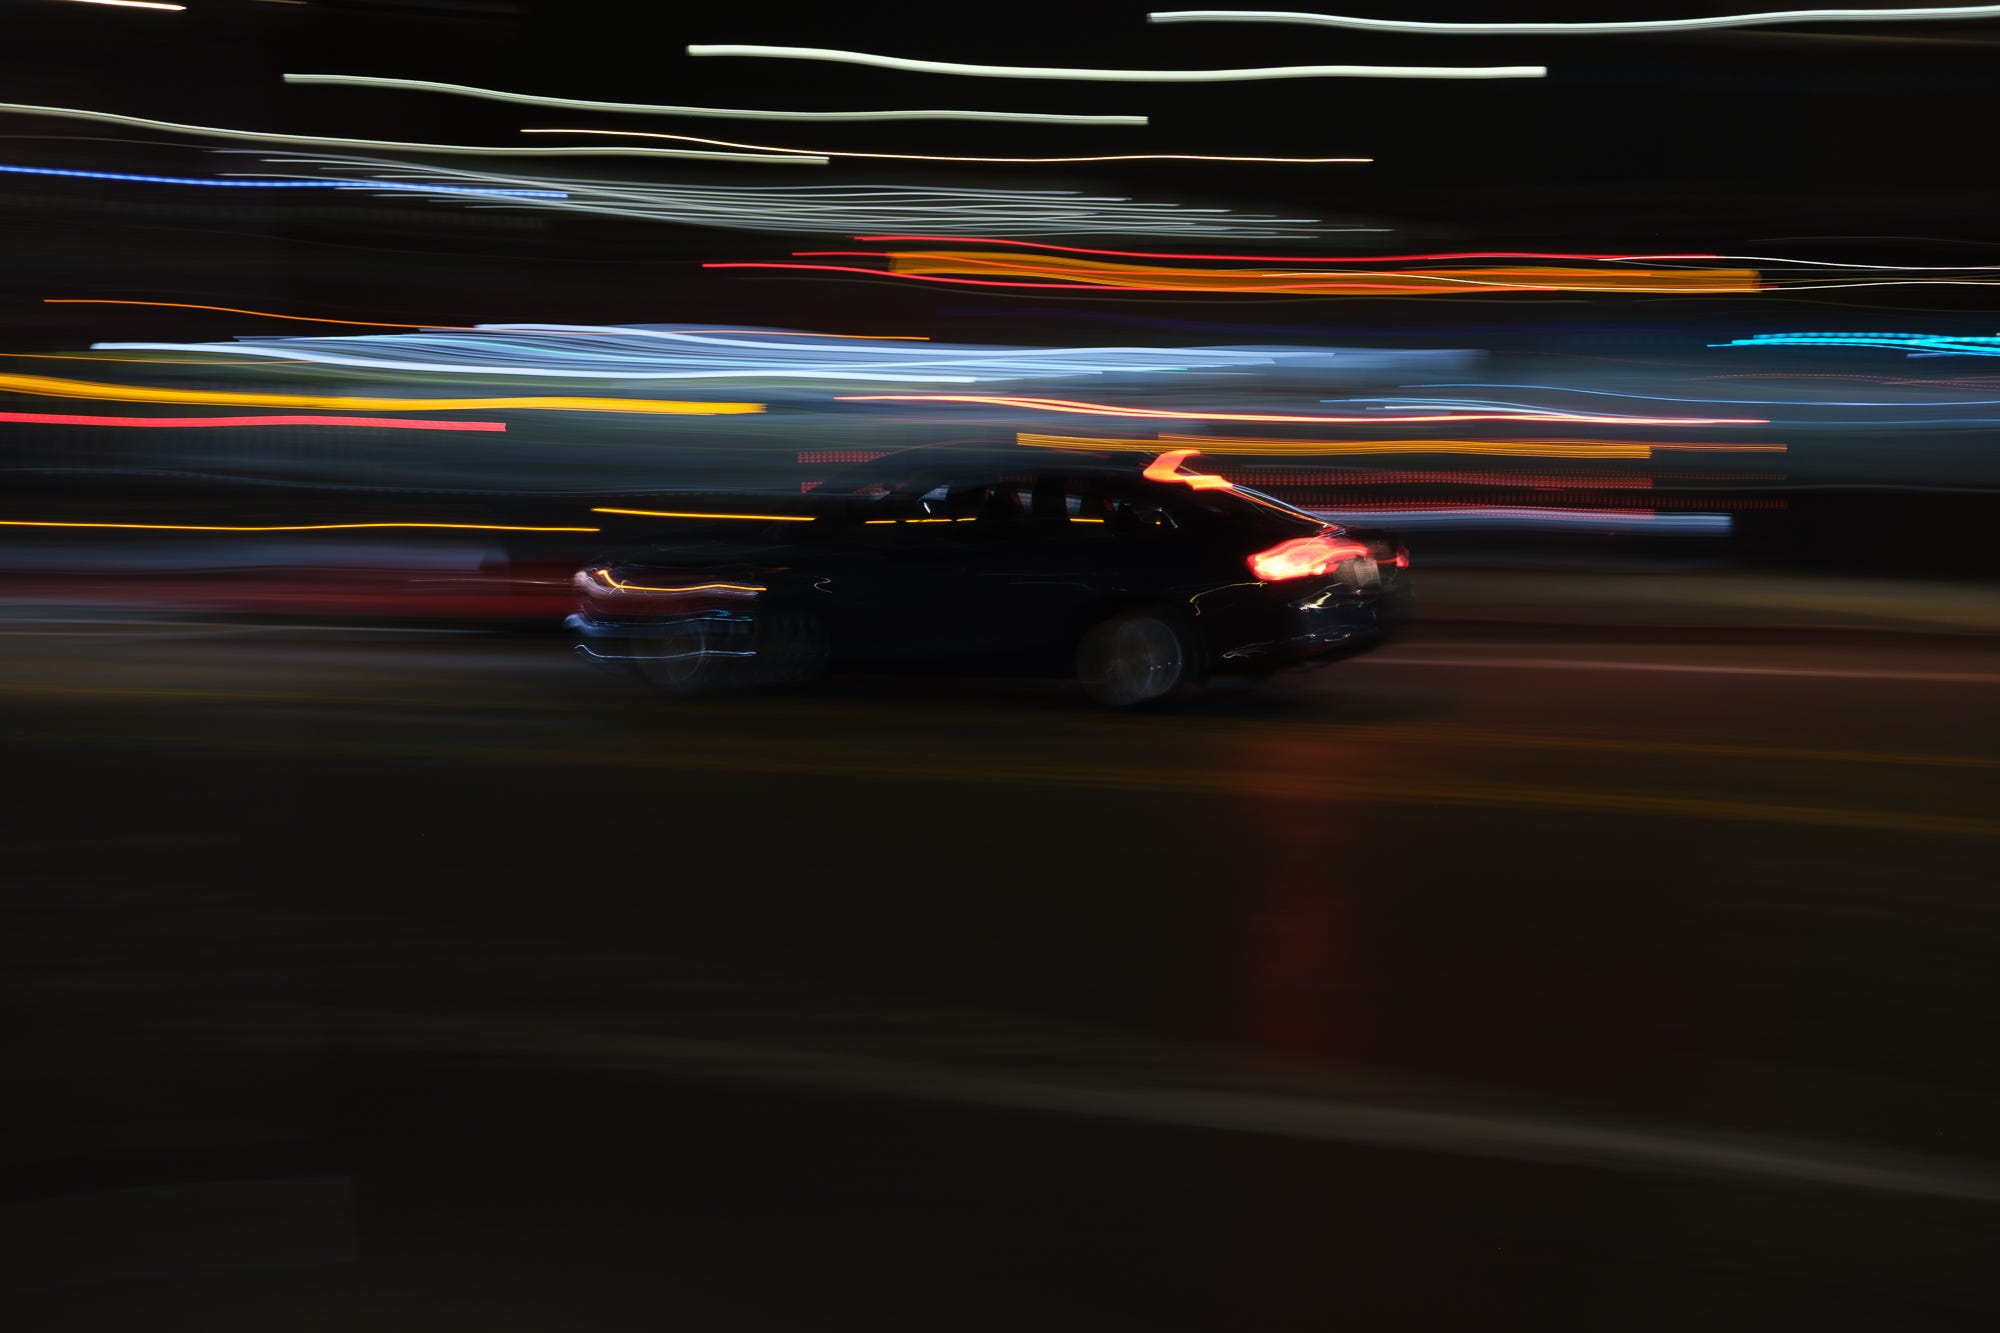
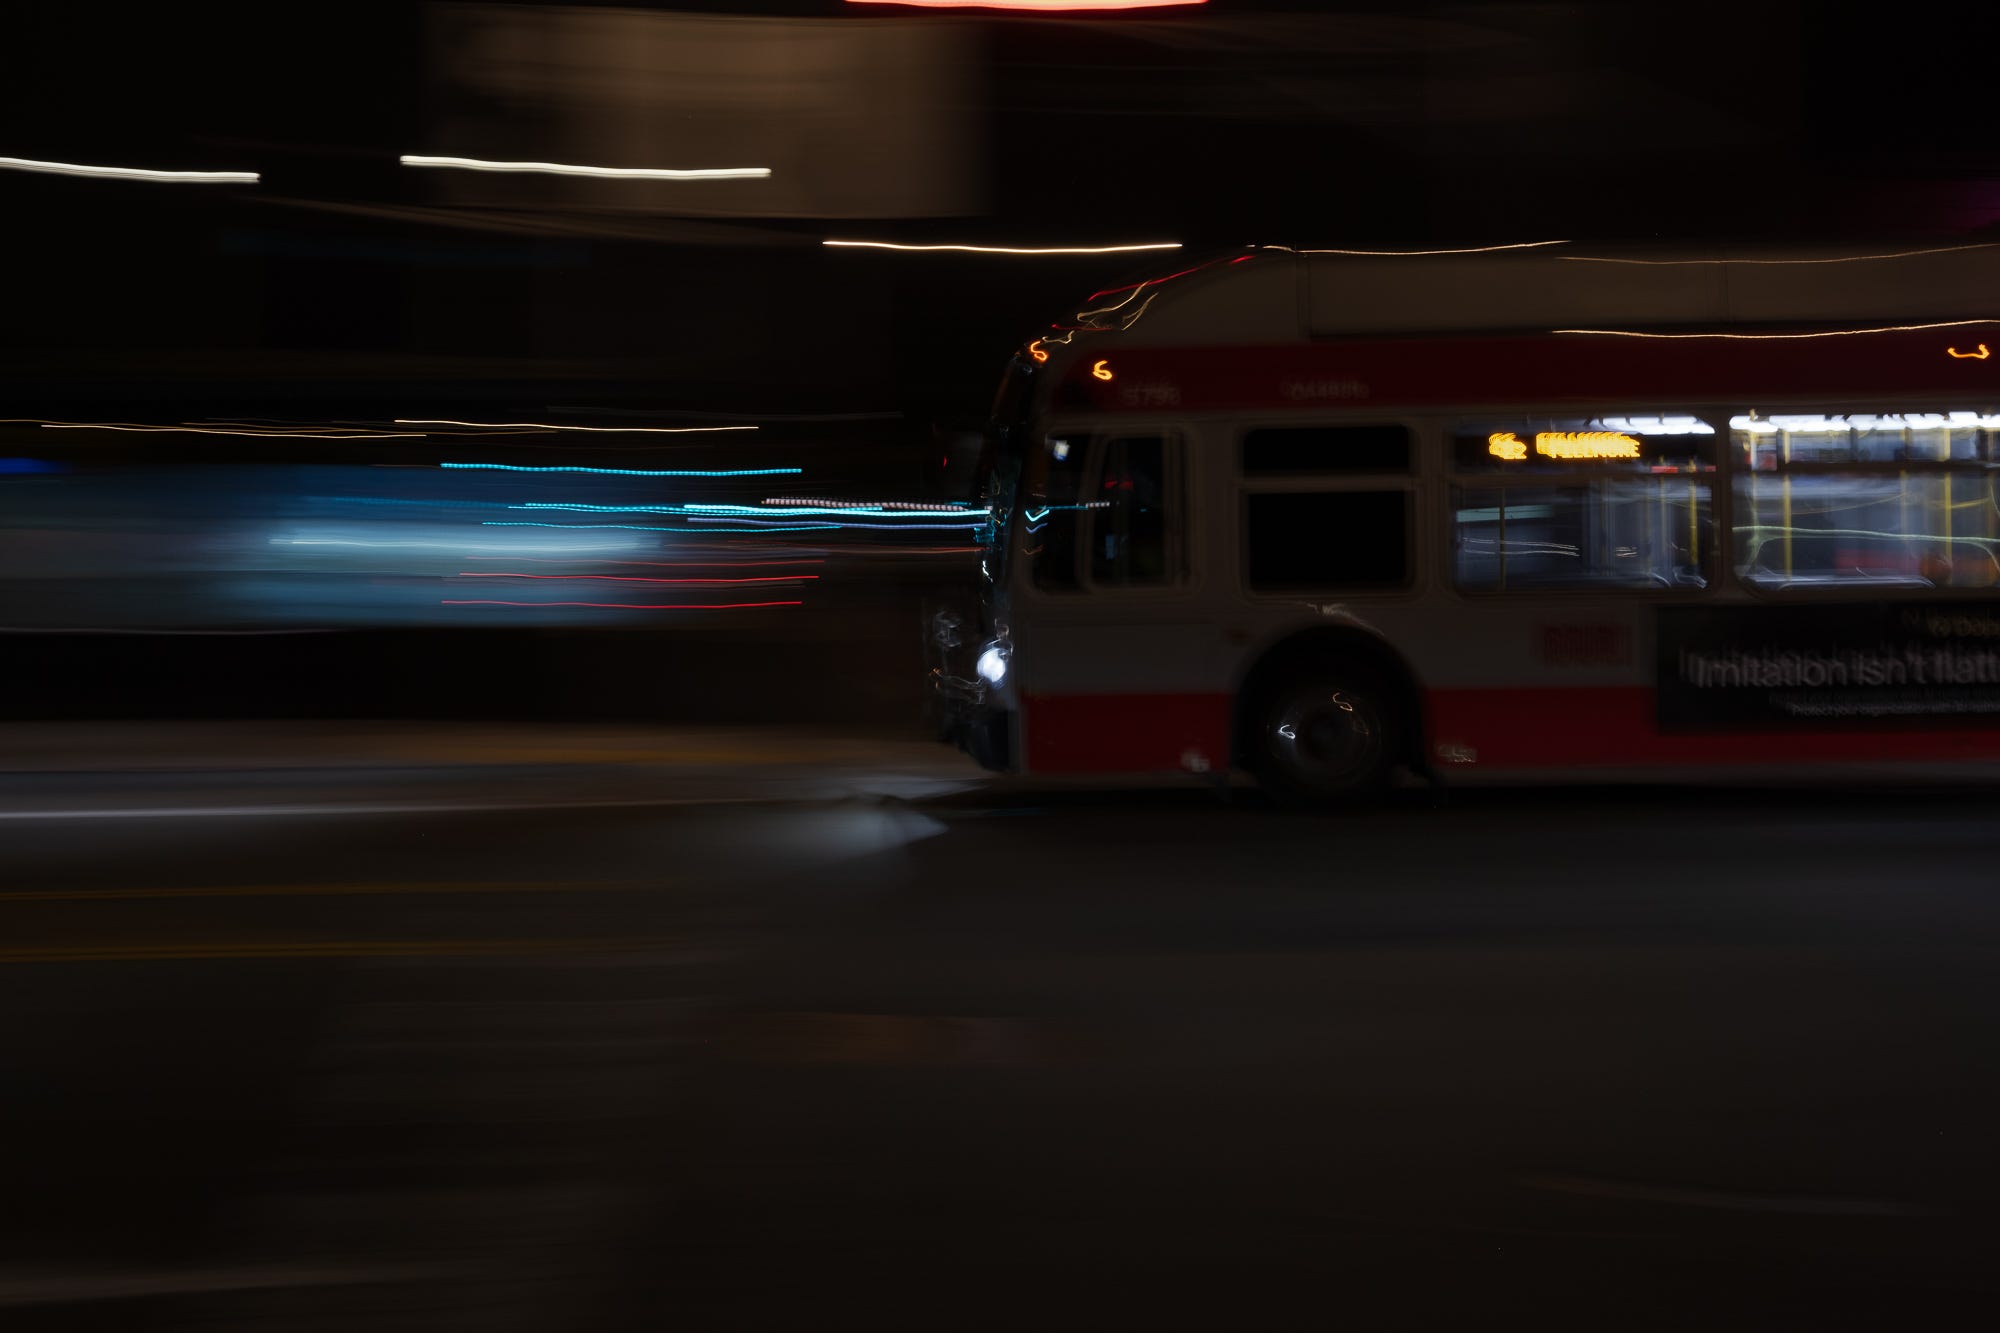
I still don’t like long exposures of vehicles when the light trails appear in front of the car. That effect always feels a little backwards to me. I’m much more interested in panning shots, where the background lights blur and the vehicle lights stay a bit more connected to the subject.
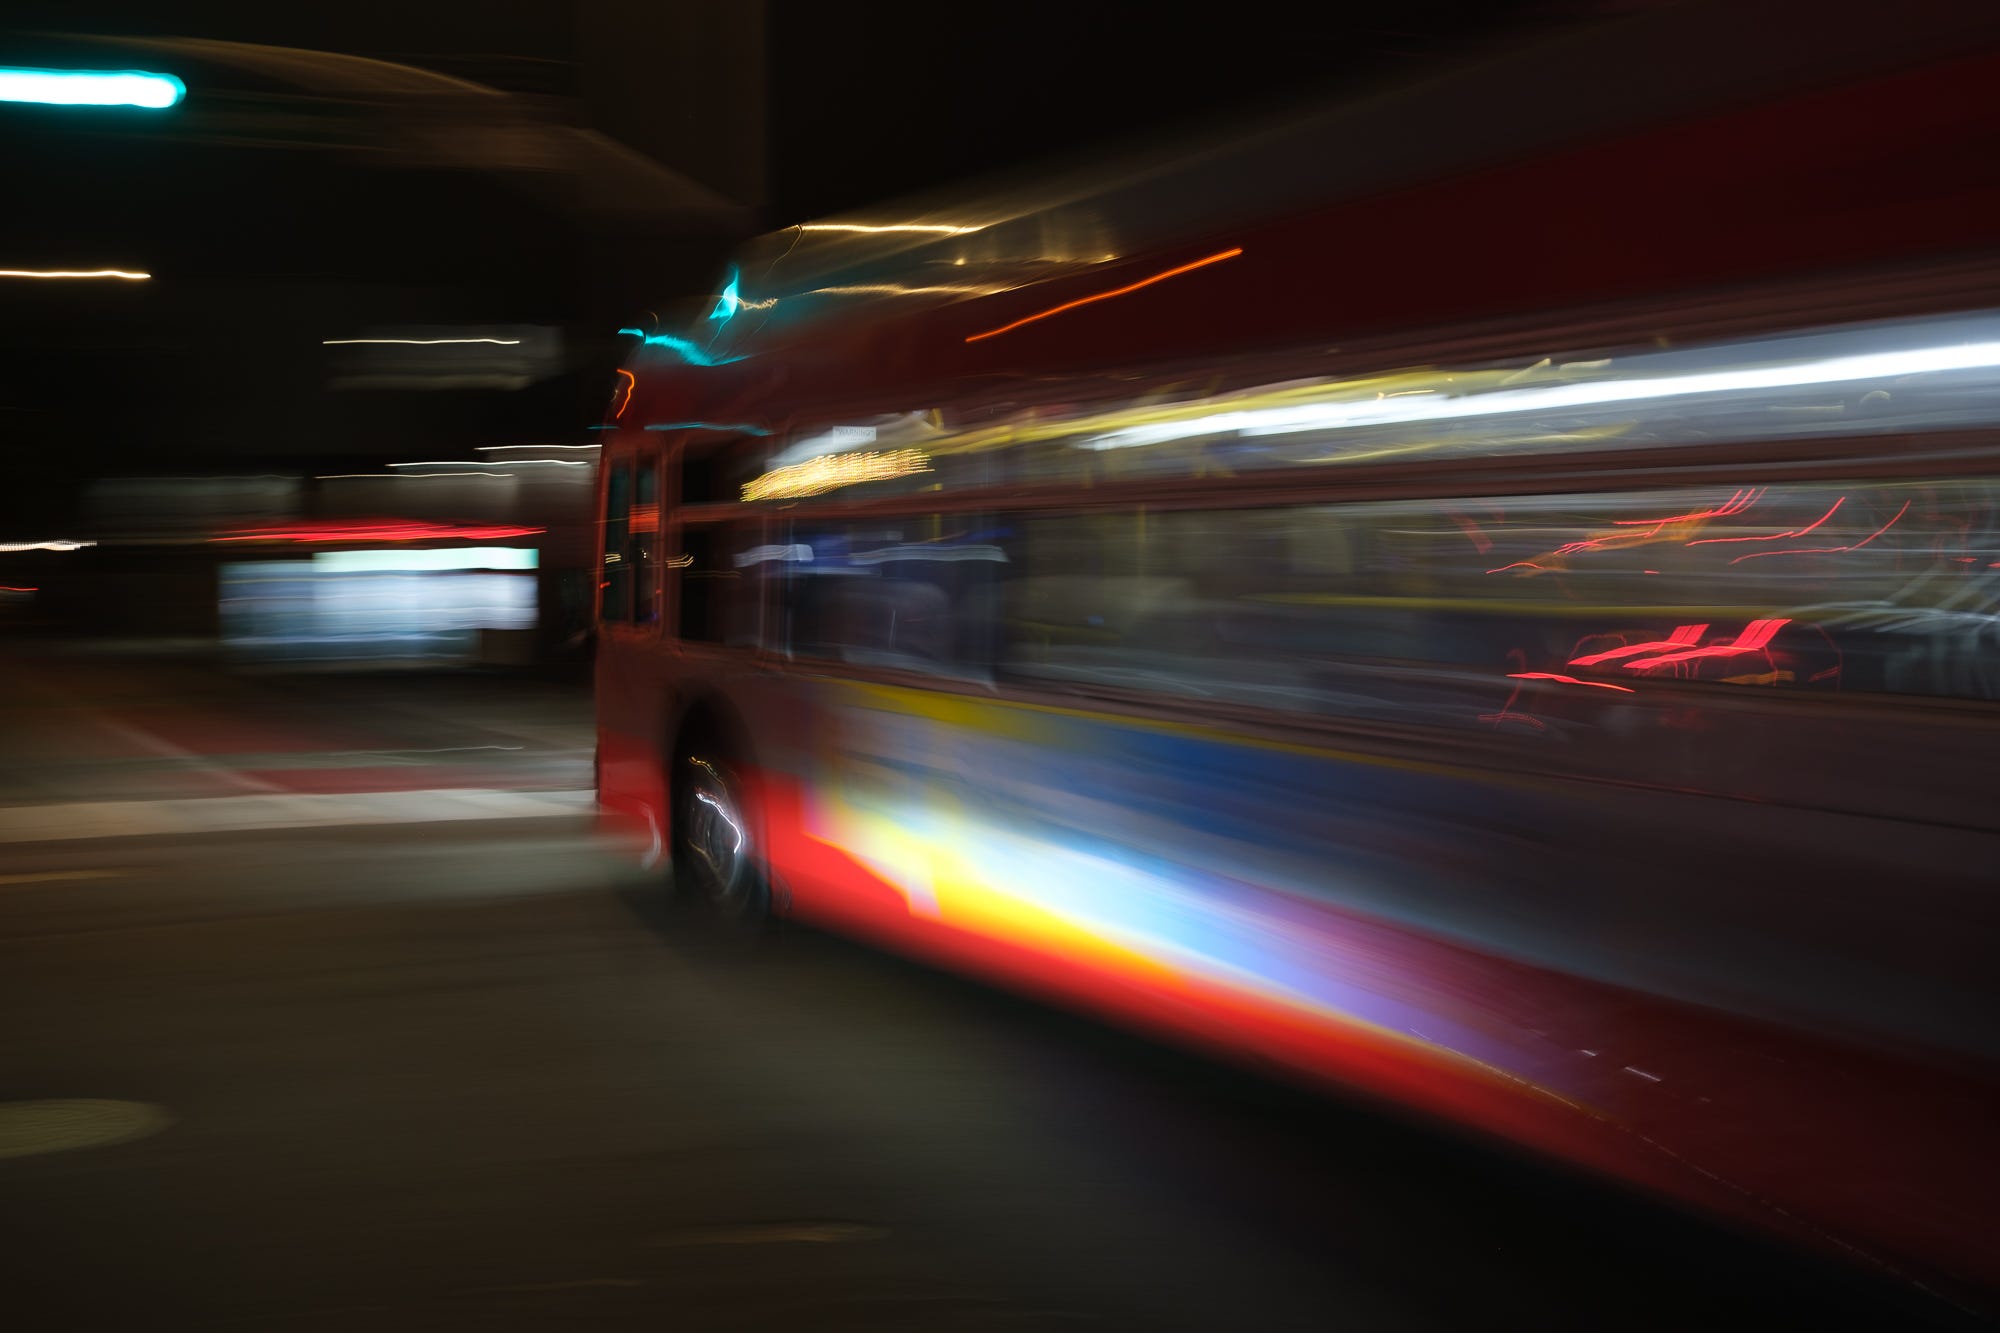
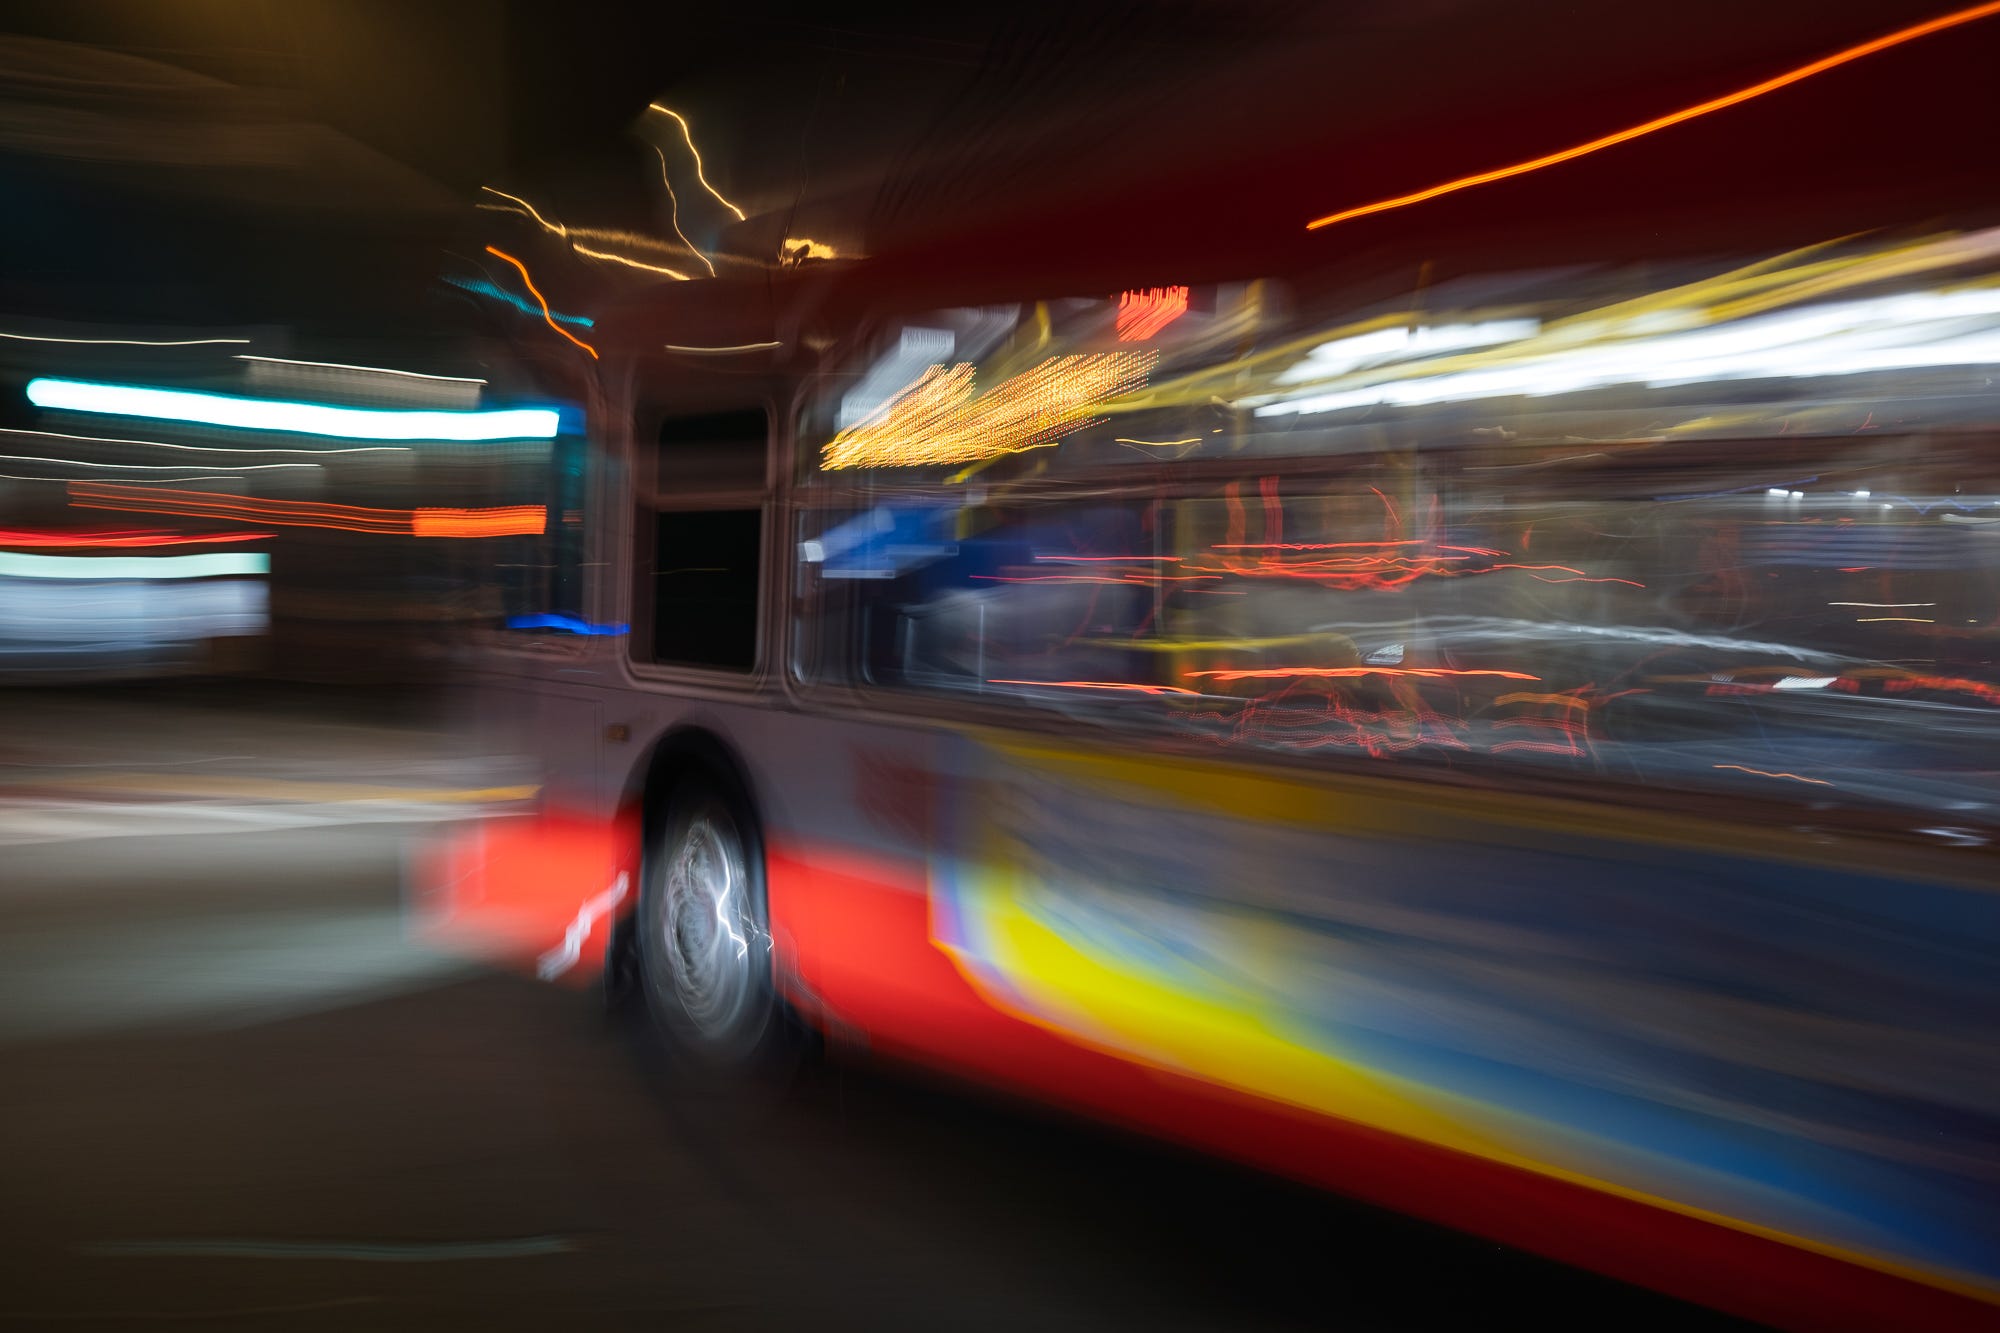
For panning, shutter speed matters more than I remembered. What I found was that the faster the vehicle was moving, the faster the shutter speed I could use. Anything slower than about 1/4 second mostly fell apart for me. Anything faster than about 1/30 second cut out too much of the motion. The useful range seemed to live somewhere between those two.
What I liked best were the images where the subject was partly readable, the background became streaks of color, and the city felt like it was moving rather than simply glowing.
Night photography still has luck in it. But the more I practice, the more I realize the point isn’t to eliminate luck. It’s to give luck a better place to land.
If you haven’t tried this, go out and give it a shot. Set your camera so you only have to think about shutter speed, find a place with moving lights, and experiment. If you try it and run into problems, let me know.
If this post gave you something useful — an idea, a setting to try, or just a reason to go out and experiment — you can buy me a coffee or upgrade to a paid subscription. Either one helps keep my energy up for making and sharing this work.
Beatiful photographs and thanks for the inspiration.
Really enjoying the shots! Thank you for sharing your process--Ive tried my hand a few times at night shooting, and got some fun results, but never something I really liked. I did learn the "bump down exposure" trick, but couldn't figure out what to do with the shutter. Armed with notes now, I hope to go out and try it again!