

71. How to Be a Photographer
Step 1: Take Pictures

Step 1: Take Pictures
One thing I tell every photography student: take pictures.
Go on photo walks with the explicit goal of photographing. But also carry your camera when you run errands. Pull out your phone when something catches your eye. However you do it, the first step in becoming a photographer is simple: make photographs.
Below are 166 photographs I made in the first few weeks of January (plus the last few days of 2025).
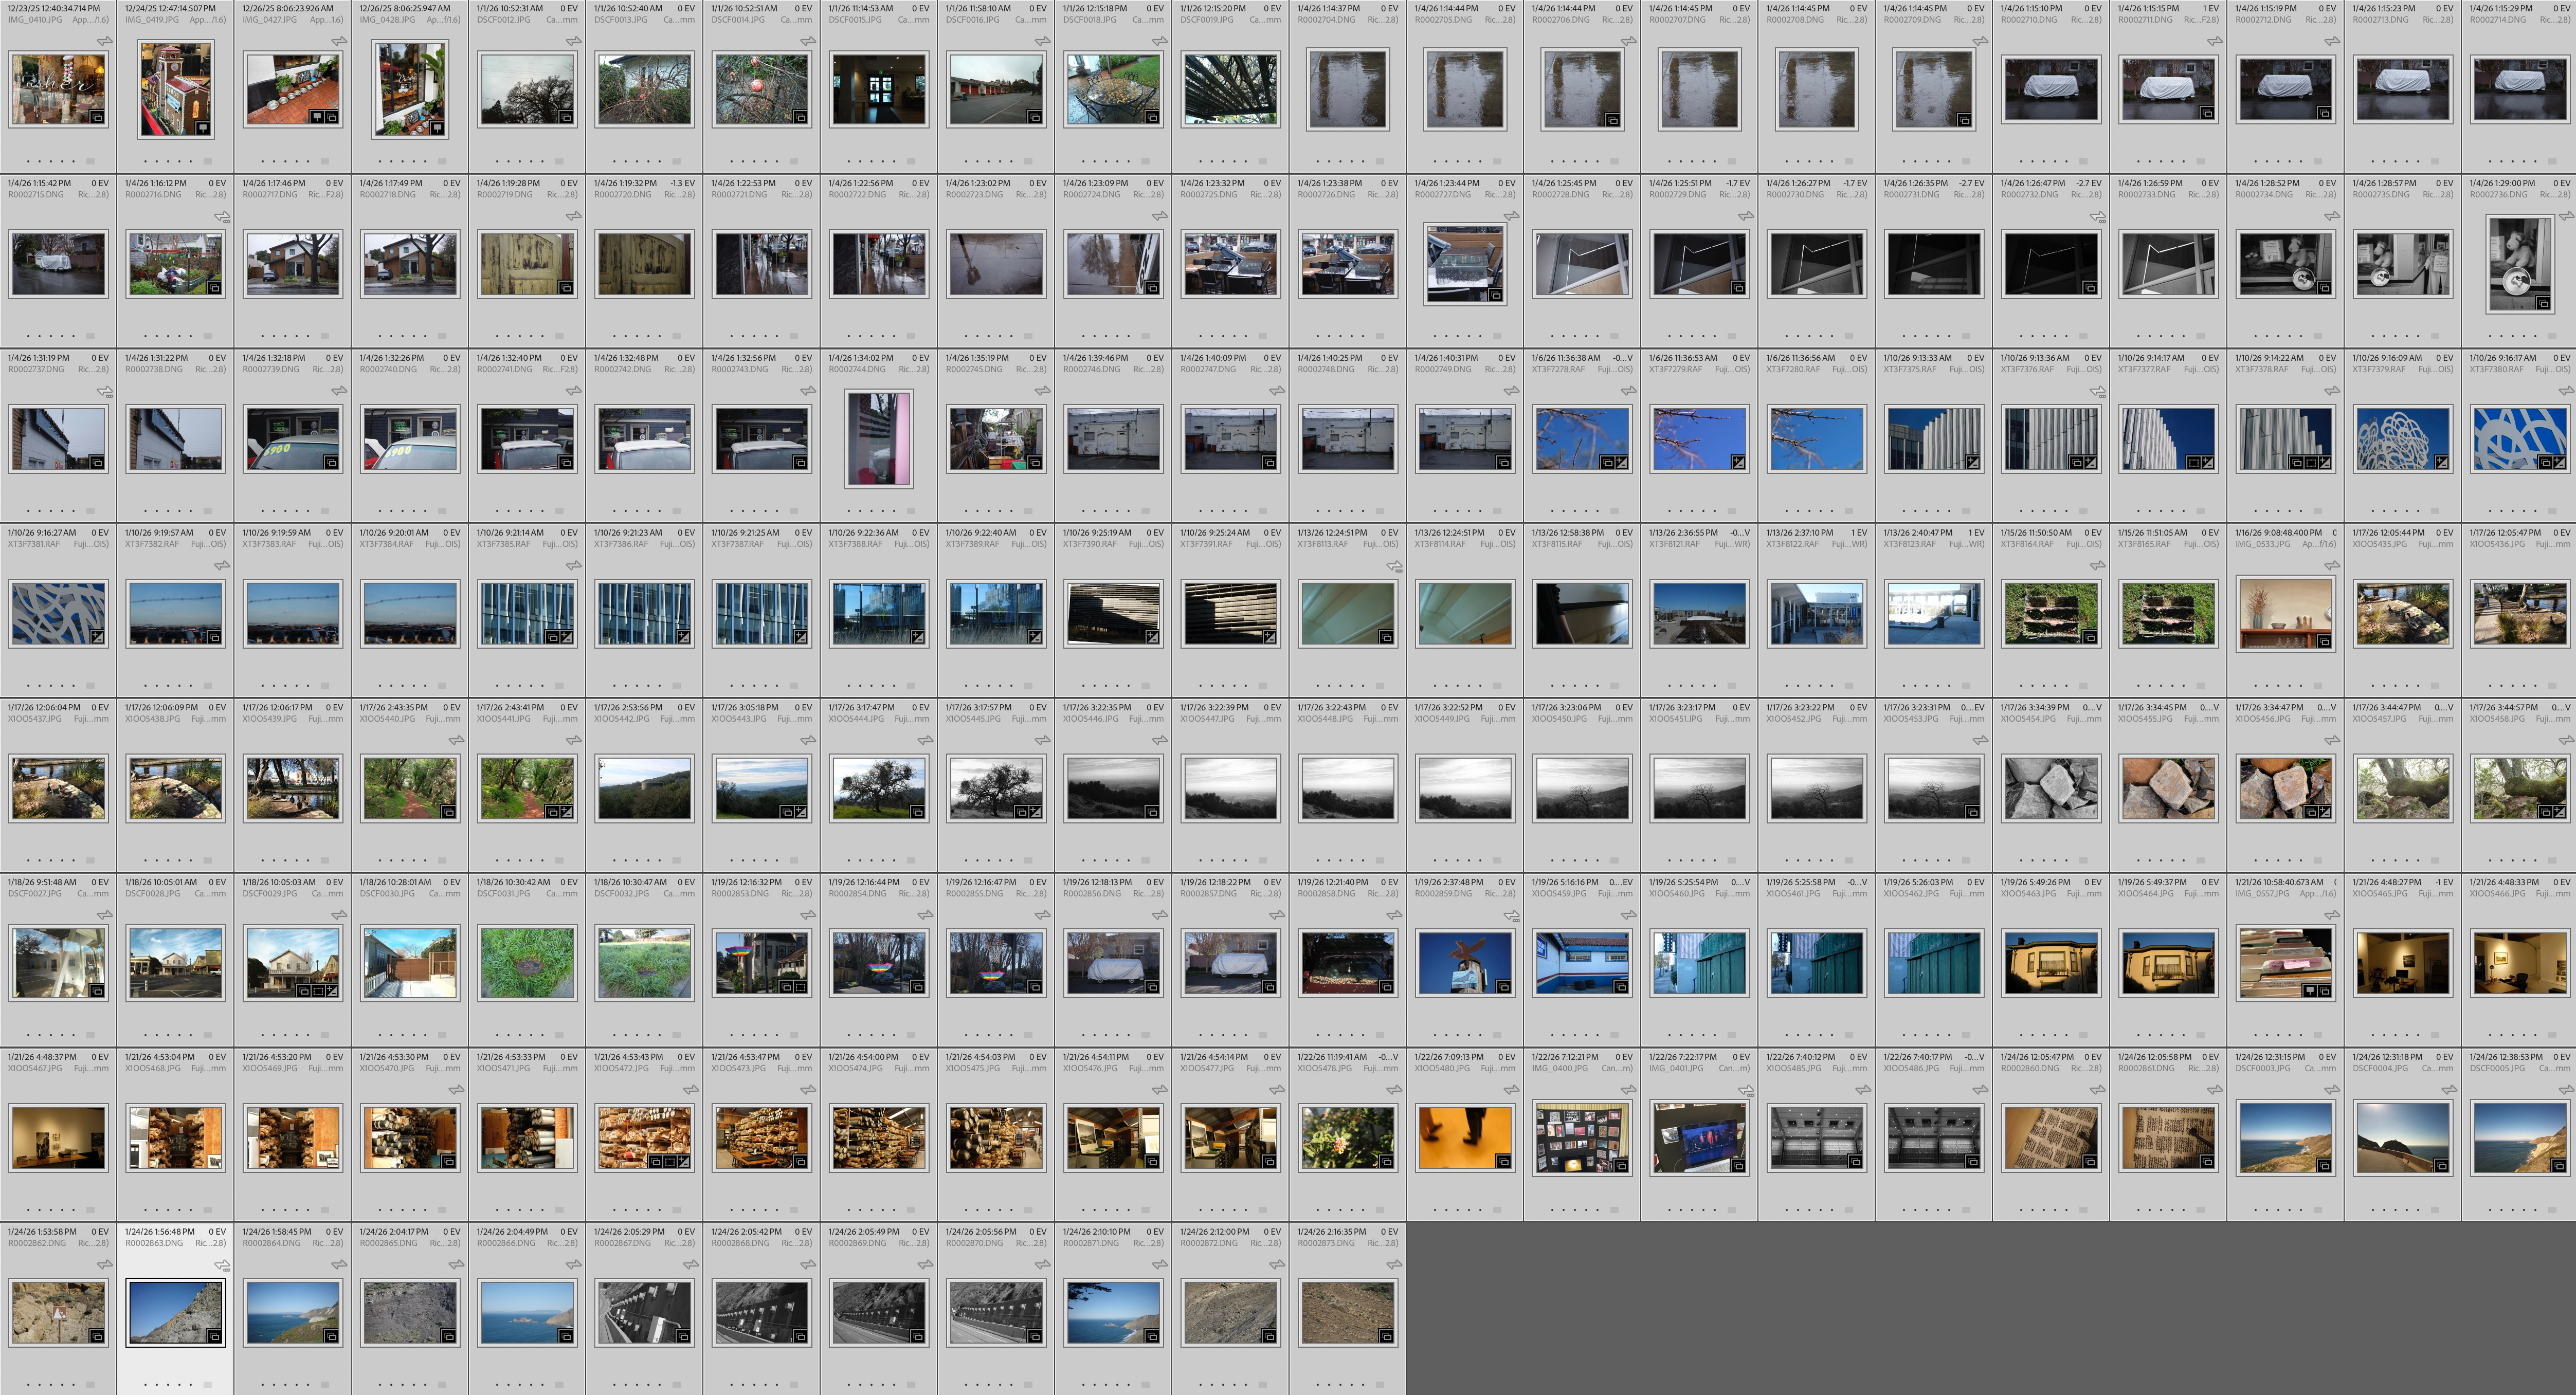
I also shot another ~800 images on a pre-sunrise trip to photograph the San Francisco skyline, during an astrophotography outing, and while working on my previous reflections post. I’ve left those out here—they’d overwhelm this example, and I handle large shoots like that differently, especially when bracketing produces many near-duplicates.
This isn’t about volume. It’s about consistency.
In 25 days, I took a camera out on 17 different occasions. Some outings were intentional, some incidental. Big or small, the habit is the same: either grab a camera and go shoot, or notice a moment, pull one out, and make a photograph.
Step 2: Pick the Photos With Potential
These don’t need to be your best images. At this stage, you’re simply marking the ones with possibility—the images worth a second look.
If you made multiple versions of the same shot, reduce them quickly. Took six frames? Can you get to two or three? If not the best, then at least the best candidates.
You might:
Add the ones you like to an album on your phone
Create an album with all these photos and remove the ones you don’t like
Print a contact sheet and mark it up with a pen
There’s no single right method. I use Lightroom’s flag/pick tool. The method doesn’t matter. Doing the work does.
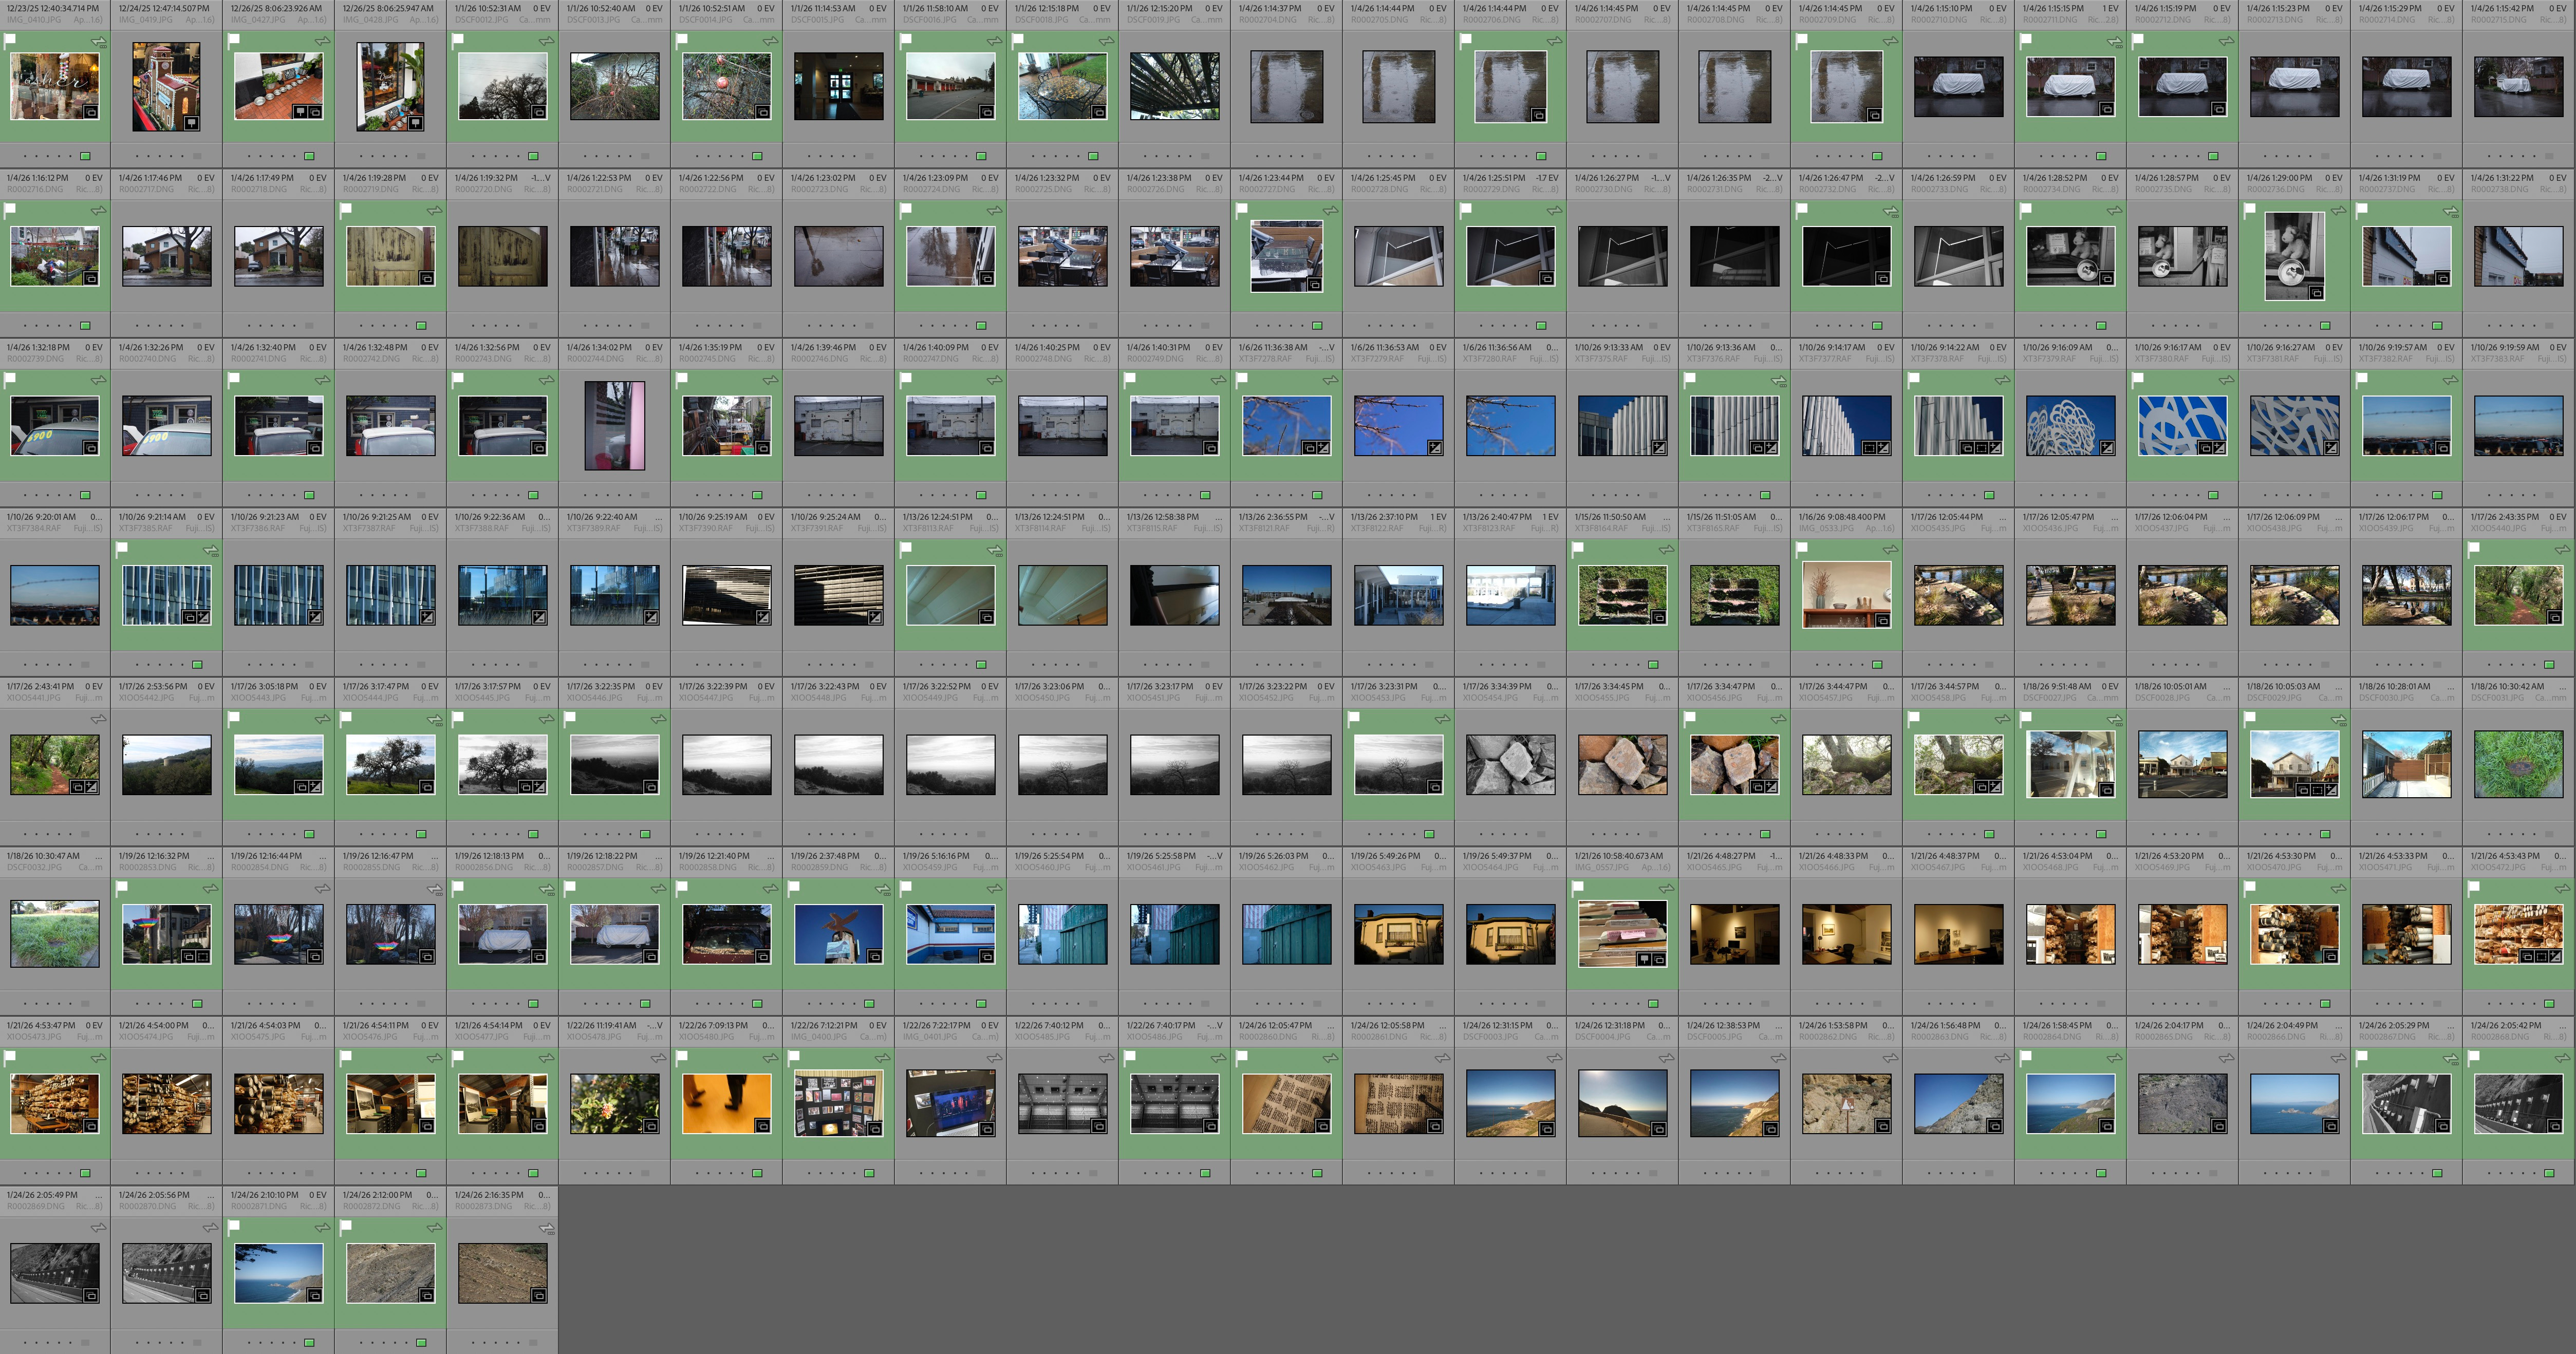
Here are the 65 picks (highlighted in green) out of the original 166.
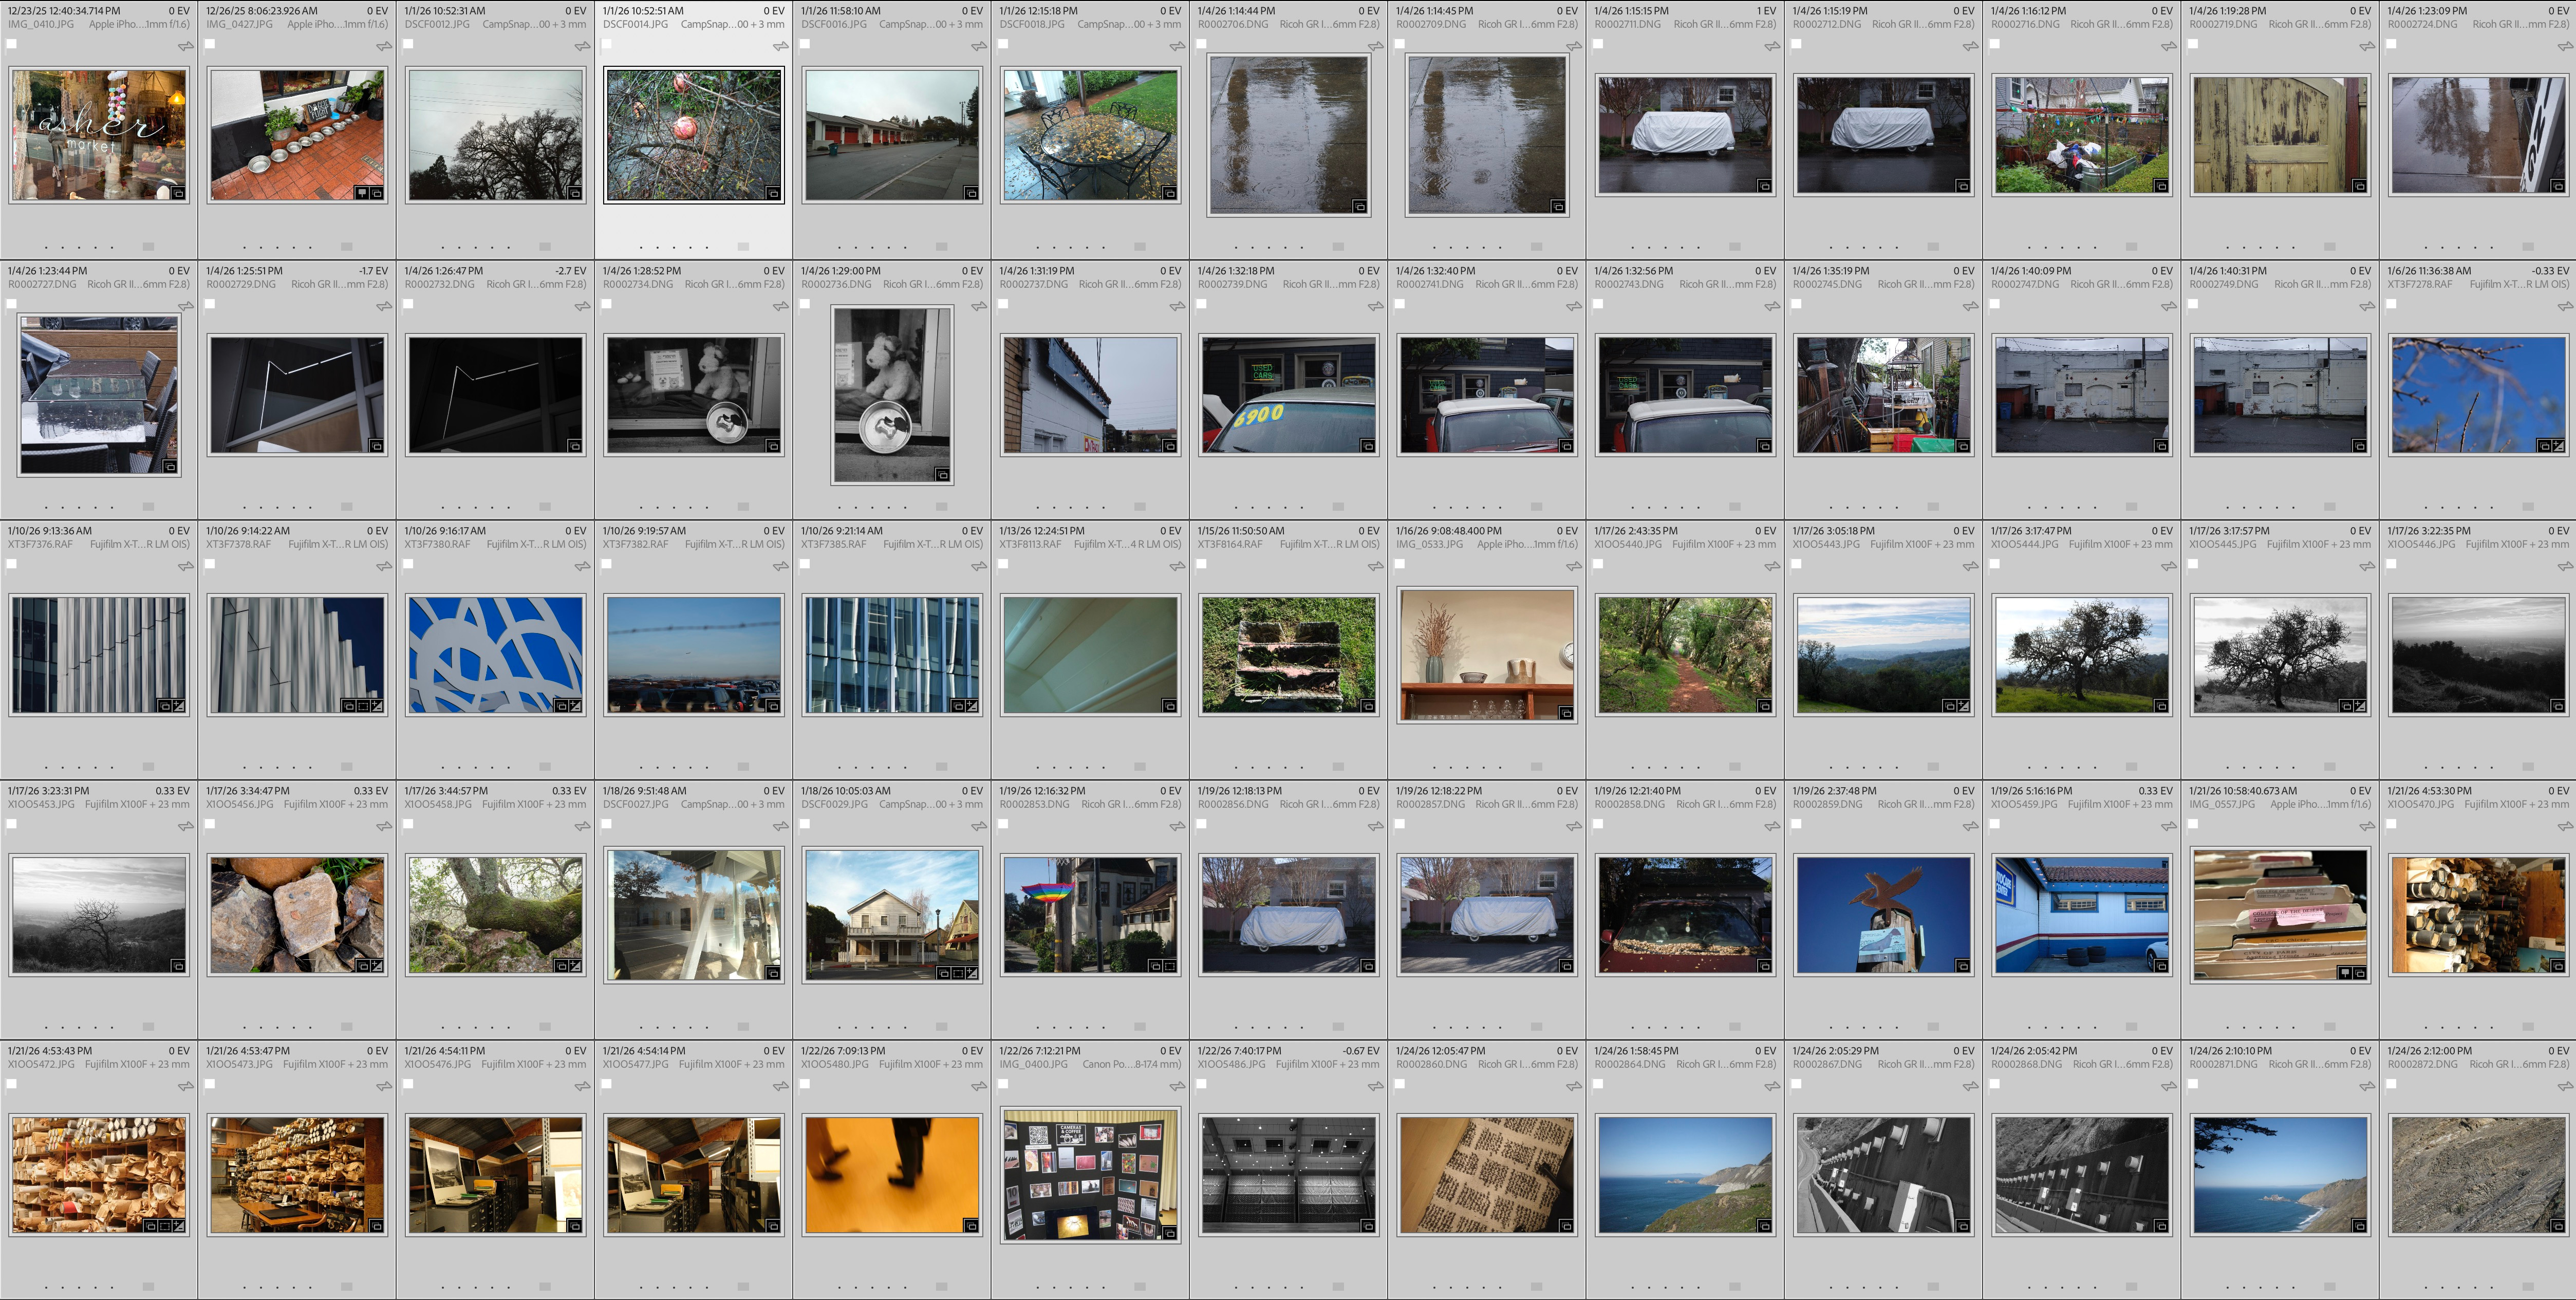
Here are those 65 separated out
Step 3: Narrow Further
Now go through this smaller set again and ask a harder question: Which of these might actually become good photographs?
If needed, do a quick straighten, crop, or auto adjustment—nothing elaborate. Just enough to see whether an image has real potential with a bit of work.
If you have multiple images of the same subject, try to get down to one. If that’s not possible yet, at least reduce it to the strongest few.
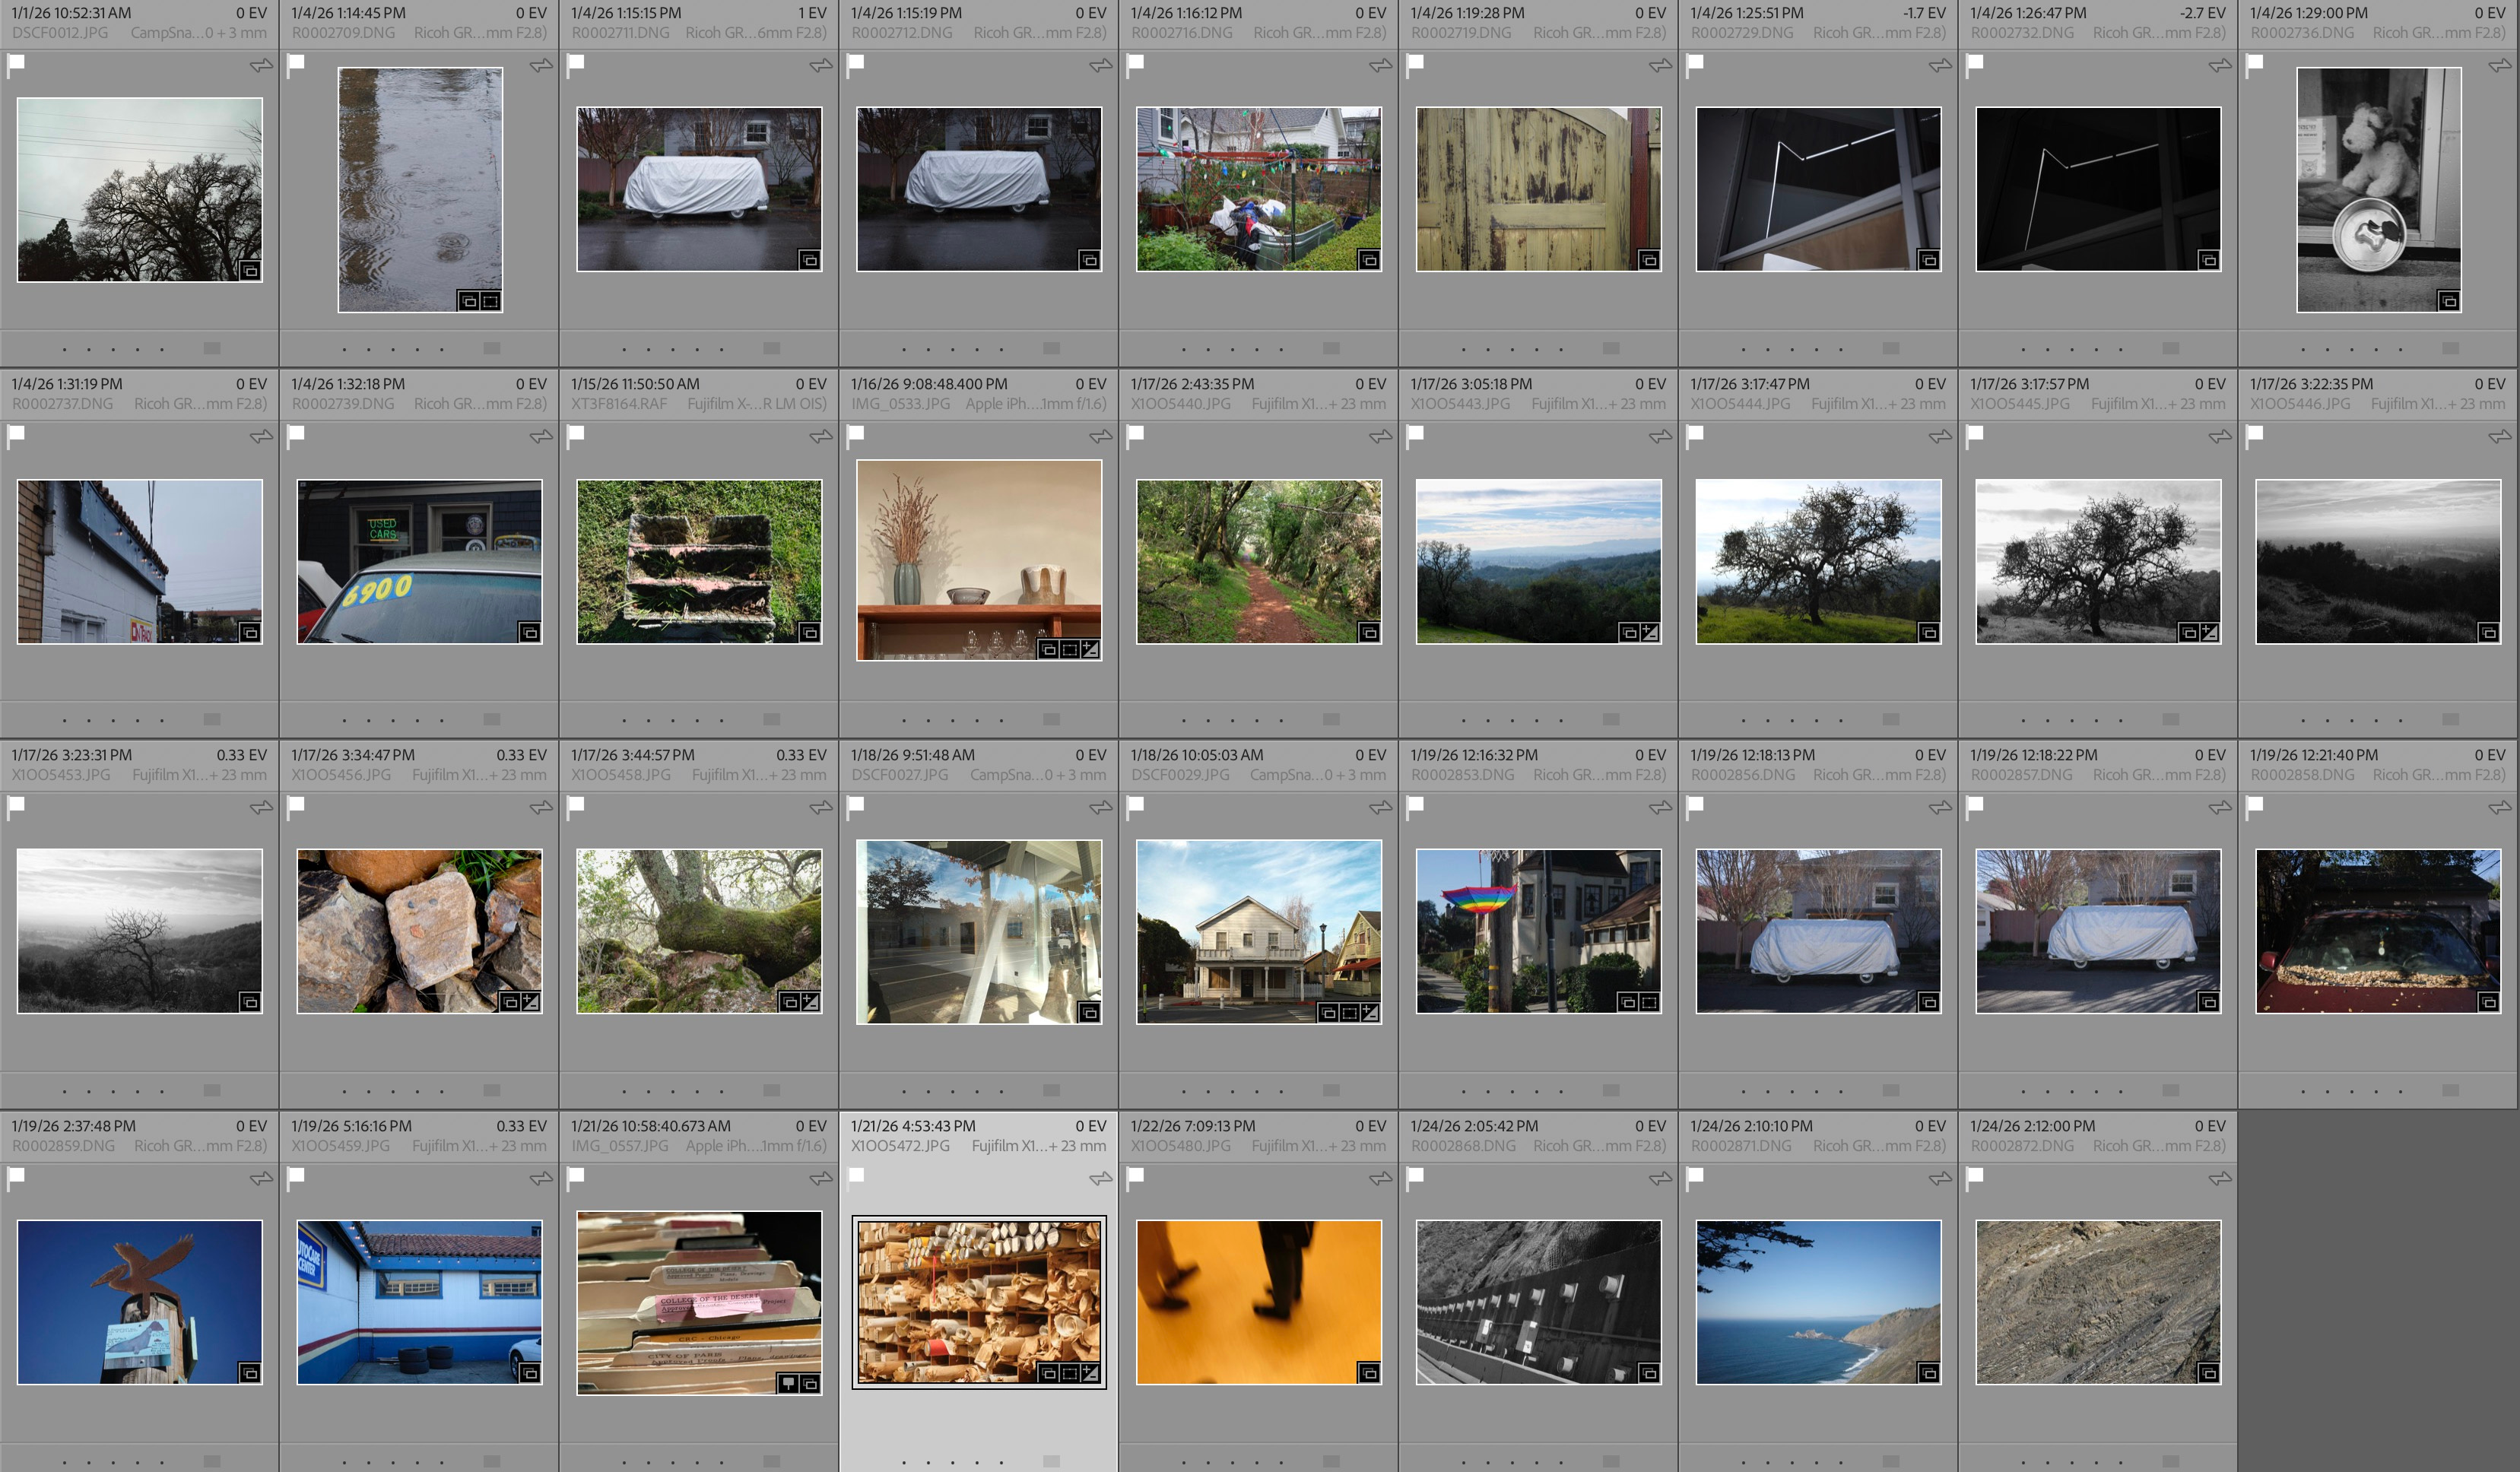
At this point, the set should be small enough to evaluate carefully. I’m down to 35 images here. Ideally, it would be 30, but a few require an A/B decision that needs more time.
Step 4: Pause
This is a good place to stop.
Step away. Give it time. When you come back, you’ll be looking at a manageable set of images with fresh eyes.
I’ll return to these later. For now, one image jumps out at me—an accidental photograph. Not planned. Not deliberate.
But as Bob Ross said, there are no mistakes, only happy accidents.

I’ll leave you with two other quotes:
“Energy and persistence conquer all things.” — Benjamin Franklin
“Your first 10,000 photographs are your worst.” — Henri Cartier-Bresson
Now look around. Grab your phone or a camera and make a photograph. Take ten. Take a hundred.
Warmly,
josh
I’m curious—how often are you taking pictures? What do you do to make it happen more consistently?
how often? Every day!